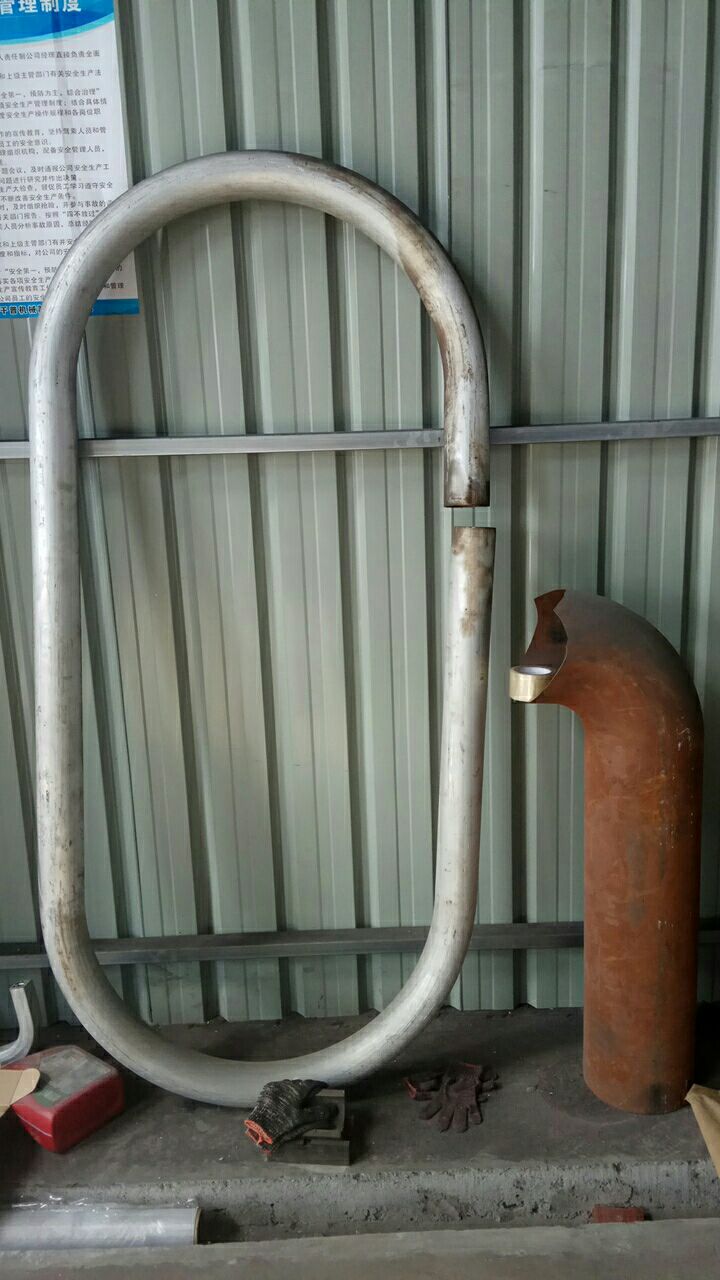
China CNC pipe bending machine operation safety and factory inspection method

1. The automatic cnc pipe bending machine adjusts the speed of the electric automatic pipe bending machine according to the thickness of the pipe material to ensure the normal outflow of water and emulsified oil, and protects the saw blade.
2. Turn on the power switch of the workshop to check whether the machine is normal, whether the protective cover is installed, and whether the installation is firm.
3. When installing the electric pipe cutter saw blade, the sawtooth is in the correct direction, the saw blade should be rotated counterclockwise to the correct direction, and then locked with a fixing nut.
4. According to the size of the saw blade and the thickness of the pipe material, the stroke of the automatic pipe bending machine blade is debugged. The saw tooth is 12 mm from the upper plane of the workpiece when the workpiece is stopped. After the workpiece is cut, the saw tooth is about 5 mm from the lower plane of the workpiece.
5. Run the empty machine for 1-2 minutes. After confirming the normal condition, lock the positioning device according to the fixed length requirement of the workpiece, and then feed the pipe material into the fully automatic pipe bending machine with the pitch adjusted so that the front end of the pipe material is flush with the positioning device. Then clamp the workpiece by hand clamping, operate the machine to cut, after cutting the workpiece, the machine should be returned to the original position, and the intermittent inspection should be carried out according to the specified time or quantity to meet the requirements of the drawings.
1. Surface pretreatment: The surface oxide scale and other impurities are removed by sand blasting, and the outer surface of the elbow is up to the standard Sa2 grade.
2. Non-destructive testing:
1) 100% UT or RT inspection is performed on each elbow weld, and RT inspection is performed on the repair of the weld. Meet the standards.
2) After the preparation of the groove, the 100mm length welds from the entire nozzle and the nozzle are subjected to magnetic powder or penetration test, and the grade I is qualified.
3) Each curved tube has a 90° arc surface on both sides of the outer arc for magnetic powder or penetration detection, and the depth of the defect is not more than 5% of the wall thickness.
4) For the pipe body within ±45° of the neutral surface of the outer arc of each elbow with a substantially constant wall thickness, the transverse crack defect is checked by UT.
5) According to SY/T6423.5 or SY/T6423.6, the curve of the elbow is tested in accordance with the standard.
6) Remanence: Check and degauss according to relevant regulations, no more than 15Gs.
3, visual inspection:
1) There is no crack, overheating, overburning; there is no hard spot on the surface;
2) Whether the inner and outer surfaces are smooth, with sharp notches, delamination, nicks, scabs, cracks, folds, tears, cracks, cracks and other defects.
3) It is not allowed to have a pit with a depth of more than 3.15mm or a pit with a depth of more than 1.5mm on the weld. It is not allowed to repair the dent by means of slamming.